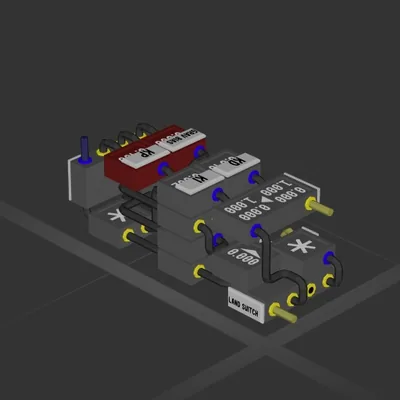
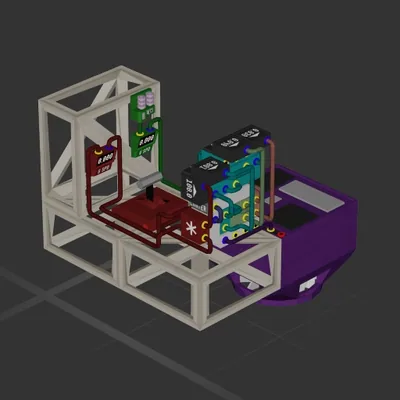
Compact 1x1x3 Hover Land System
System
Workshop author: Taddsworth · Steam ↗
This build has no engines — it's a hull, a system or a section.
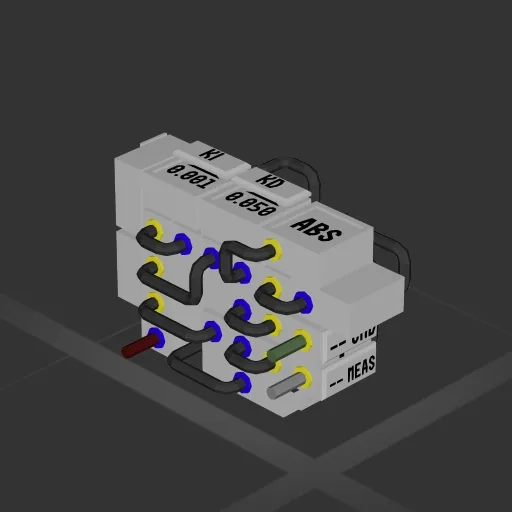
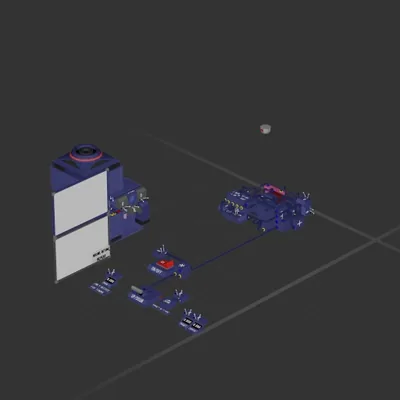
A simple, compact PID controller with anti-windup. Give it a velocity command and directional velocity measurement to control that velocity automatically. For controlling any value, such as vertical thrust in hover applications. Recommend having thrusters pointing in both directions (ideally equal thrust) to take full advantage. If you are just controlling thrust in one direction and using gravity to go back down, recommend setting Ki to zero. Key characteristics: - Anti-windup: Integrator would otherwise "wind up" while the system is trying to correct your measured value, and the I component of PID would then fight your ability to control once you've hit CMD = MEAS. This simply uses the absolute value of the error (CMD - MEAS), when that crosses 100, the accumulator resets. This means that it can still help you zero in on your target without causing serious overshoot. - Grav Bias: This constant lets you input a default command output bias (adds to your cmd output) to fight gravity in hover conditions. Measure your CMD output using a readout while in hover, then use that value as the grav bias to achieve faster and more stable control of vertical velocity in gravity. Depends on the mass of your ship and the planet's gravity. - KP, KI, KD: These represent Proportional, Integral, and Derivative gains. To tune, set KI and KD to zero, and trial and error the KP gain until the ship is able to take you out of freefall and near the target velocity. Too high of a value will cause large oscillations. Once you are able to get this "close enough", add a small amount of Ki. High frequency oscillations means your Kp is too high, so lower Kp. One it's stable, it will oscillate and eventually settle. If your settling time is high, you can slowly raiseThen slowly introduce and raise Kd to act as a "damper" that will make this settling time faster. The Signals are all labeled. RED wire is CTRL OUTPUT, this should be connected to your thrusters. GREEN is COMMAND IN, which is connected to your control device (lever, knob, joystick, etc). GREY is the MEASUREMENT, i.e. directional velocity meter signal.
System
System
System
System