 424 ↓
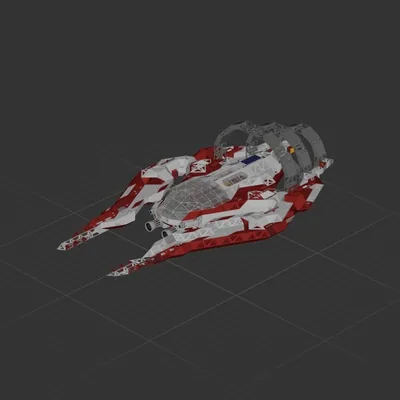
424 ↓ " Halo Interceptor "
Cruiser
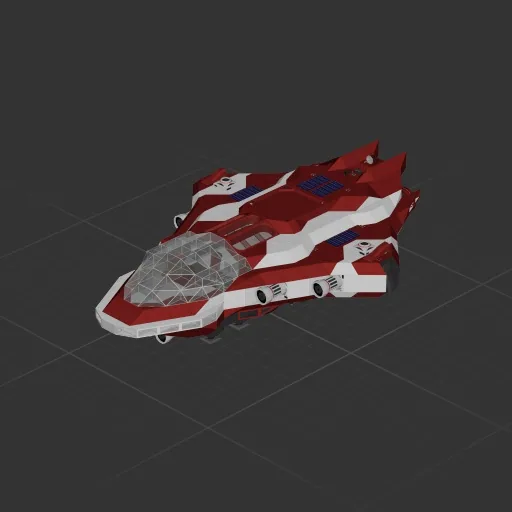
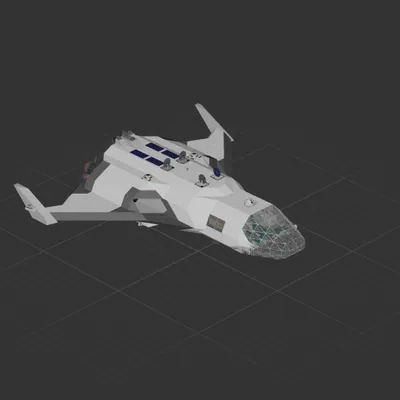
UPDATE 8/29: Night vision toggle now supports forward camera. Thanks for coming to my TED talk. Will do pretty much anything you want it to except cosplay as the Titan from Subnautica. Frequencies PAINSTAKINGLY recorded (based dev PLEASE allow vertical whiteboard writing) in the rear cabin. Completely re-made using nano framing to defeat weight/thrust ratio problems. Accelerate / decelerate to ~75 m/s. Features: - Auto-stabilization (see below for use) - Auto-hover with gravity dial (see below for use) - Burn calculator for inter-planetary flight (see below for use) [also BPS for heretics] - FWD, rear, ground cam with NV toggle (forward and ground only) - Ground cam has altimeter (sea level and ground level) + wind reading + gravity reading - Forward zoom camera with distance reading - Object sensor with on/off switch and angle dial - Wind shield with on/off switch (see below for use) - Rechargeable power (rear circuit only unless circuits are joined, see below) - Dynamo box to jerk the ship off and keep instruments running in emergencies [b]USAGE Auto-stabilization[/b]: Port (left) cockpit. Flip switch "on", make sure gyro screen is on or it won't work. Ship should level off slowly. Use "STAB ADJ." slider to the left of the on/off to change sensitivity. Keep under ~20 or ship will kill your mother. [b]USAGE Auto-hover[/b]: Port (left) cockpit. Flip switch "on", ship should settle at 0m/s accel after second or two, gravity dependent. If acceleration continues to be negative, use "GRAV ADJ." dial on left wall, slowly increase until acceleration settles around 0 m/s. [b]USAGE Burn calculator[/b]: Starboard (right) cockpit. Set acceleration using RED burn inputs (currently set to 75 m/s) with est. vacuum accel/decel rates (i.e., once gravity not affecting ship). Adjust thrust to maintain these acceleration rates. Right side zoom cam LCD screen will show distance to target + seconds left to mid-point of burn + seconds left of deceleration burn + time to impact at current velocity (which accounts for 0 acceleration cruise). [b]IMPORTANT:[/b] Calculation does not account for destination gravity wells, so best to leave a few seconds of burn as buffer to account for slightly less deceleration power as gravity takes hold. [b]USAGE Wind shield[/b]: Starboard (right) cockpit. Turn plasma power on using dial for strength, "max wind" will show shielding potential. Turn shield "on" to engage, use RED radius input to change size (currently set at optimal 11 meters radius). [b]Other instructions / systems[/b]: [u]Port cockpit[/u] - Aft power join switch: Connects rear and front circuits (note that this connects ALL circuits, rear power is split into two circuits to manage thruster power draw). Front circuit is all instruments + front 4 thrusters, rear circuits are ground cameras + maneuvering thrusters + wing thrusters + rear thrusters. - Cam power switch: Turns ground and rear camera power on or off to save energy in a bind. - Night viz switch: Toggles NV mode on the left small LCD screen (forward and ground camera). [u]Starboard cockpit[/u] - Object sensor on/off: Does what it says on the tin. Saves power. - Object sensor cone angle dial: Increases / decreases sensor cone width. Higher number = narrower detection cone.
424 ↓ Cruiser
 173 ↓
173 ↓ Cruiser
 116 ↓
116 ↓ Cruiser
Cruiser